Yoga is a practice available to anyone who wants to understand themselves better. If your mobility is restricted or you find it difficult to stand, it doesn’t mean you can’t be a yoga practitioner. Chair yoga consists of modified postures done seated on a chair or standing with the support of a chair. This chair yoga sequence helps bring the light of awareness to your mind and body if you can’t or don’t want to move too much. You can also use it when you need a break from work or are stuck in long hours of seated travel. If you’re suffering from an injury, practicing yoga in a chair is a good way to nurse your joints and muscles back to health.
Here is a non-exhaustive list of the benefits of chair yoga:
Reduces anxiety and sadness
At the core of all asana practices including chair yoga lies the synchronization of movement with breath. This awareness deepens the breath and can help you move past the default stress response in your nervous system to activate the parasympathetic nervous system, making you feel calm and alert. As you do this repeatedly, it can reprogram your nervous system to make you feel less anxious and sad even when you’re not practicing yoga.¹
Reduces pain and improves sleep
Chair yoga regulates your cardiovascular system and boosts your metabolism helping you release unwanted nervousness and stress. This has the effect of making you more alert and energetic during the day and easing you into more restful sleep at night. It has also been found to increase tolerance to pain and reduce the intensity of pain in people suffering from arthritis and other chronic conditions.²
Improves mental clarity and attention
Chair yoga cultivates awareness by gently guiding your attention to your breath as you move through postures. Over time, this increases your ability to concentrate. In patients of Alzheimer and other forms of dementia, chair yoga has been found to enhance mental lucidity and improve the quality of their waking life. ³
Increases strength and stability
Chair yoga enhances proprioception which promotes balance, strength and flexibility. If your mobility is compromised, chair yoga can keep your muscles strong and reduce the risk of falling and muscular degeneration. ⁴
Chair Yoga Sequence
To help you begin your chair yoga journey, we’ve compiled an easy but effective sequence for you to follow. You can use any chair (without armrests) that firmly supports your back in an upright position. If your feet don’t touch the floor, place them on a block or cushion. Sit on your chair with your spine straight, neck neutral and palms resting gently on your thighs. Take a few deep abdominal breaths to center yourself and set an intention for your practice.
Pose 1: Chair Cat Cow
Inhale and arch your back, rolling your shoulders back, trying to touch the shoulder blades together in cow pose. Keep your neck neutral and relaxed. Exhale and round your spine, dropping your chin towards your chest and squeezing your belly in cat pose. Repeat this flow for five deep breaths.
Pose 2: Upward Salute
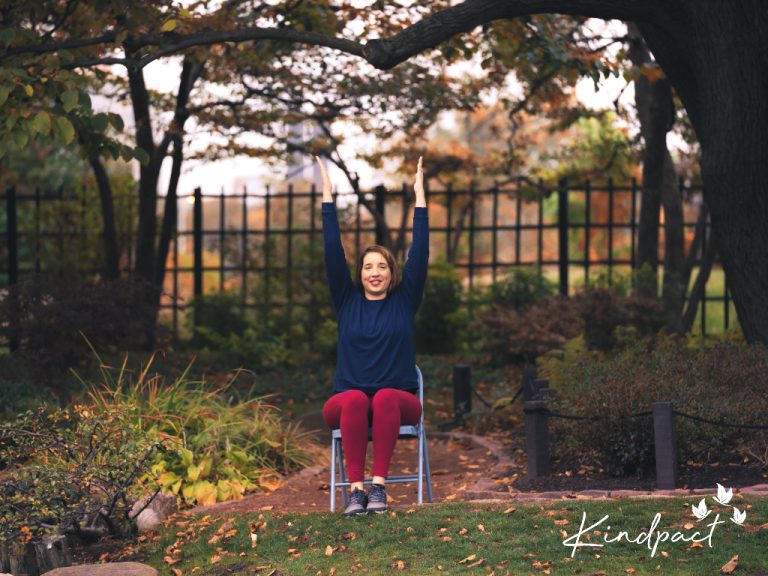
Inhale and lift your arms up overhead. Keep your neck neutral and your shoulder relaxed. Here, you have an option to go into a slight backbend if you like. Gently lift the chest upwards and if it is comfortable for you, tilt the neck back slightly to gaze at the thumbs.
Pose 3: Chair Warrior 2 [Virabhadrasana II] (Right Side):
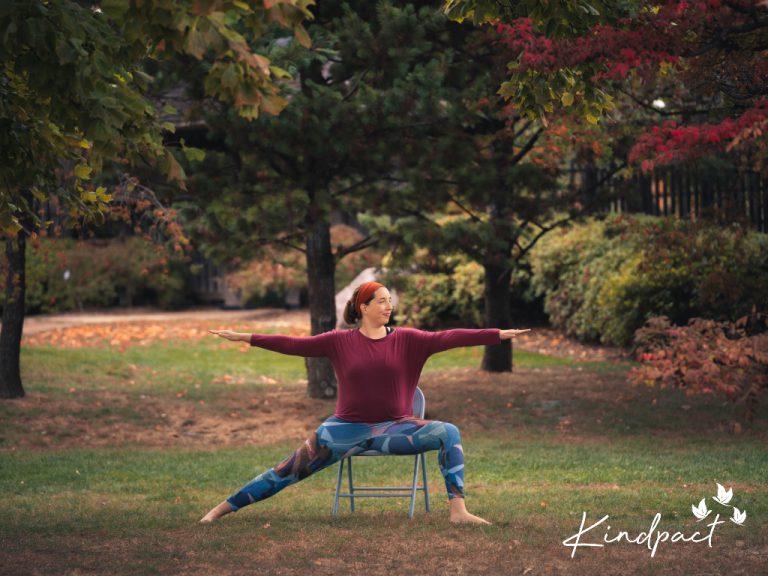
Exhale and bring your right leg over the right side of the chair and swing the left leg over the left side, keeping the left heel planted on the floor. Bend the right leg so that the knee is directly over the ankle. Makes sure your knee is supported by the chair and your left leg is straight. Keep your torso facing forward and lift your arms to a T, gazing over your right fingers. Stay here for five to ten deep breaths.
Pose 4: Chair Reverse Warrior (Right Side)
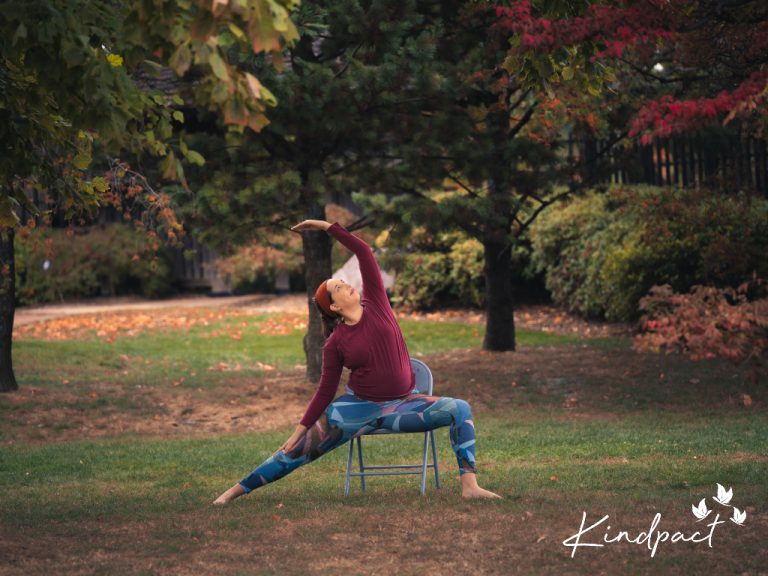
Inhale and let your left hand fall down to your left thigh and lift your right hand overhead, gazing at your right thumb for reverse warrior. Feel a gentle stretch in the right side of your body. Stay here for five to ten deep breaths.
Repeat step 3 on your left side.
Repeat step 4 on your left side.
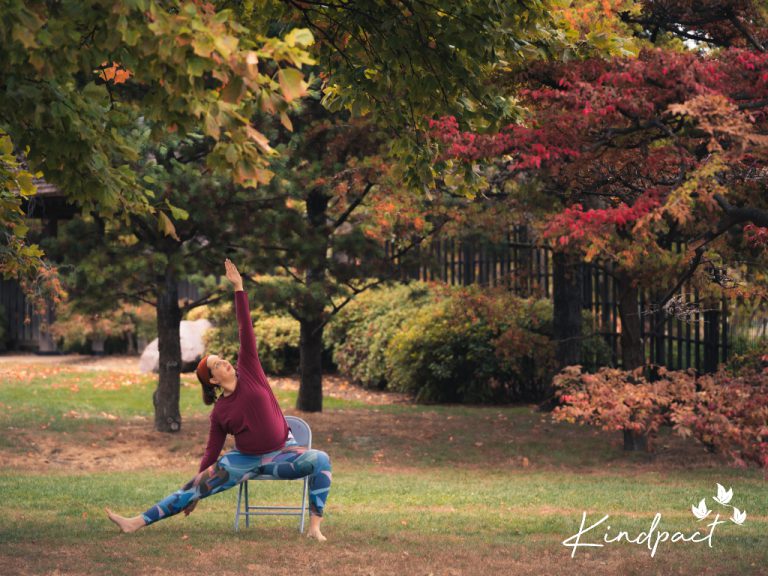
Pose 5: Chair Triangle Pose [Trikonasana]:
Come forward to sit on the edge of your chair. Take your feet apart wider than the width of the chair. Point the right toes outward and align the right heel to the left foot arch. Keep the right leg straight if you can, bending the left as needed. Inhale and bring your arms to a T. Exhale and hinge from your hips to your right and bring the right hand to meet the right foot. If you can’t reach your toes, you can use a bolster or stool or rest your hands on your ankle or shins. Stay here for five to ten deep breaths. Repeat on your left side.
Pose 6: Chair Lunge
Bring your right leg over the right side of the chair and swing your left leg back over the left side, keeping it straight. Ensure your right knee is directly above your right ankle and not going beyond. Square your hips to the right side of your chair, staying on the ball of your left foot. Breathe here for five to ten breaths. Repeat on your left side.
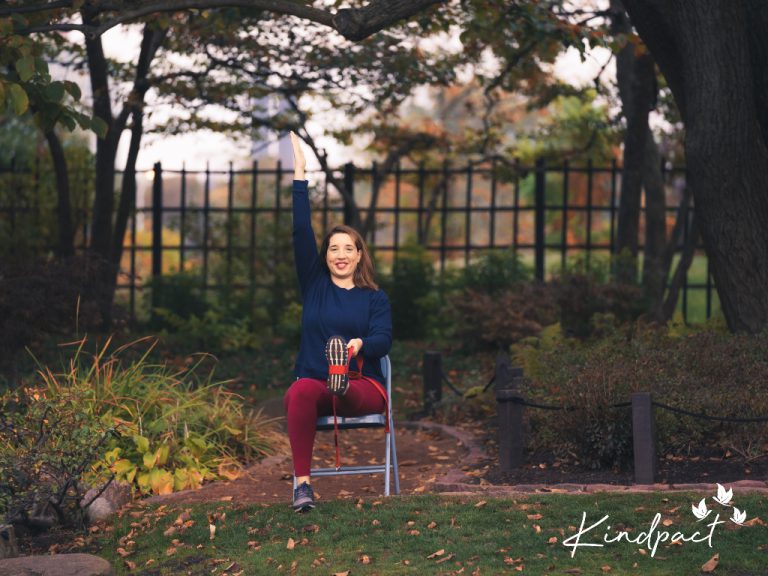
Pose 7: Chair Hand to Big Toe [Utthita Hasta Padangustasana]
Sit firmly on your chair facing the front. Keep the left foot planted on the floor or cushion and raise the right leg, holding the right big toe with your right hand. If this is not possible for you, feel free to use a strap or hold onto your shin or thigh. Straighten your right leg as much as possible. Stay here for five breaths. Open the right leg out to your right as much as you can and gaze over your left shoulder. Stay here for five deep breaths. Repeat on your left side.
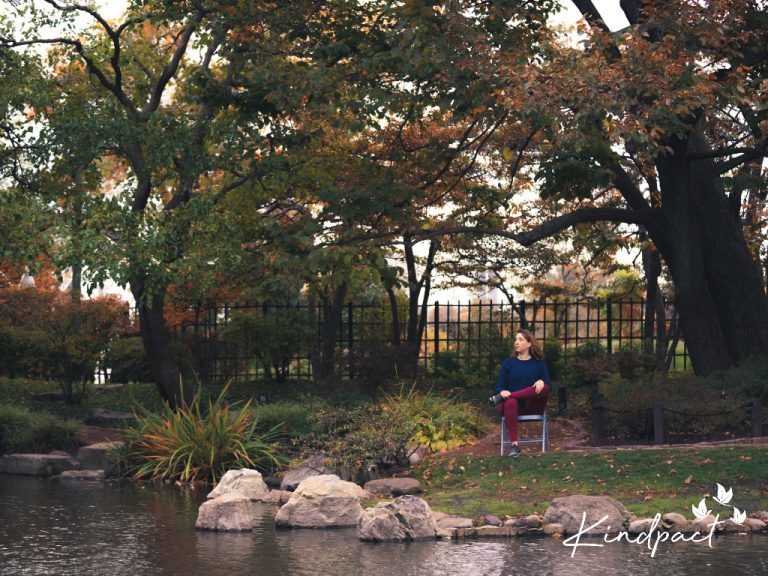
Pose 8: Chair Pigeon
Bring your right ankle to rest on your left thigh, bringing the right knee down in line with the right ankle. If this is easy for you, on an exhale, gently fold forwards with a straight spine. Stay here for five deep breaths. Repeat with your left leg.
Pose 9: Chair Seated Twist
Sit sideways on your chair, facing your right. Gently twist your upper body, towards the back of the chair. Hold onto the back support of the chair. Stay here for five breaths, lengthening the spine on every inhale and twisting a little deeper on every exhale. Repeat on your left side.
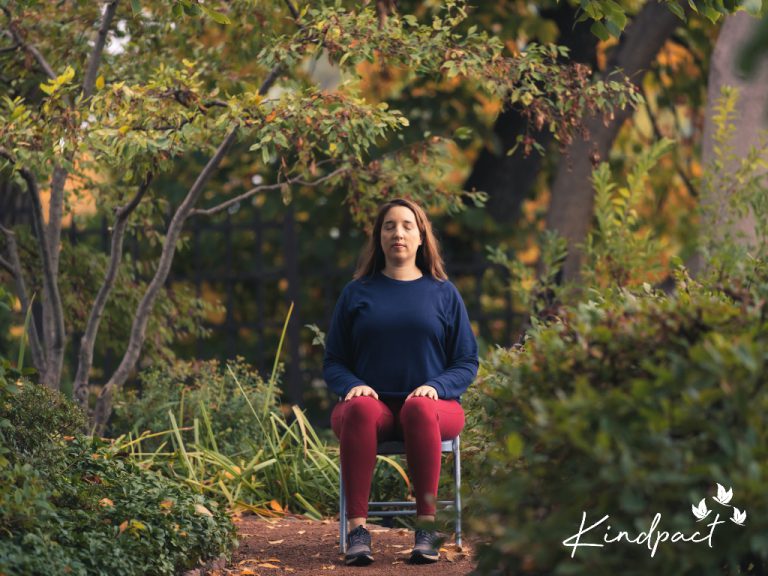
Pose 10: Chair Savasana
Find a comfortable position in your chair. Allow your hands to fall gently on your lap. Release any tension in your body and allow your breath to return to normal. You can also take Savasana lying down if you prefer. Stay here for a few minutes, relaxing down to the earth and integrating the benefits of your practice.
This chair sequence is an energizing and restorative practice that will help you feel a sense of aliveness in your body. In just a few weeks of consistent practice, you will feel the transformative magic of these ancient teachings, available to you whenever you need it.
References
- Jerath, Ravinder, et al. “Physiology of long pranayamic breathing: Neural respiratory
Elements may provide a mechanism that explains how slow deep breathing shifts the autonomic
Nervous system.” Medical Hypotheses (2006): 566-571.
- Park, Juyoung, et al. “Pilot Randomized Controlled Trial of the Effects of Chair Yoga on
Pain and Physical Function Among Community-Dwelling Older Adults with Lower
Extremity Osteoarthritis.” Journal of the American Geriatrics Society (2016).
- Litchke, Lyn G., Jan S. Hodges and Robert F. Reardon. “Benefits of Chair Yoga for Persons
With Mild to Severe Alzheimer’s Disease.”; Activities, Adaptation and Aging (2012): 317-
328.
- Mary Lou Galantino, Laurie Green, Jason A DeCesari, Nicole A MacKain, et al. “Safety and feasibility of modified chair-yoga on functional outcome among elderly at risk for falls” International Journal of Yoga (2012): 146-150.
